Alternative content


La fabrication
When hand-throwing an Anduze you must shape up the clay in three steps prior to considering decoration. Needless to say that learning the tricks of the trade takes years of practice which explains why only few potters continue to perpetuate this noble tradition.


We generally pre-shape very large dimension planters in plaster molds; this step is called Calibrating .

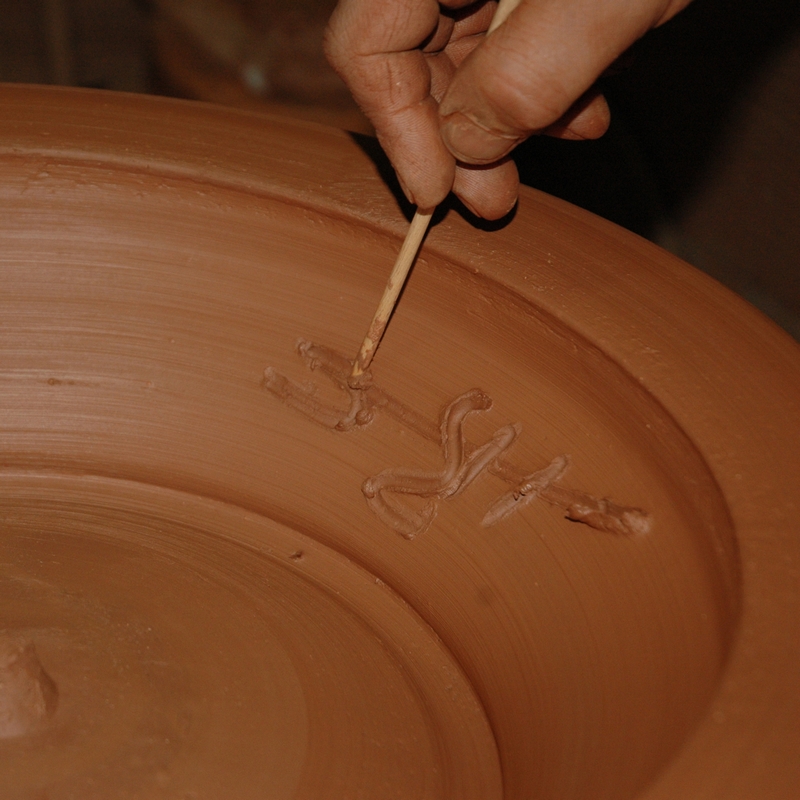
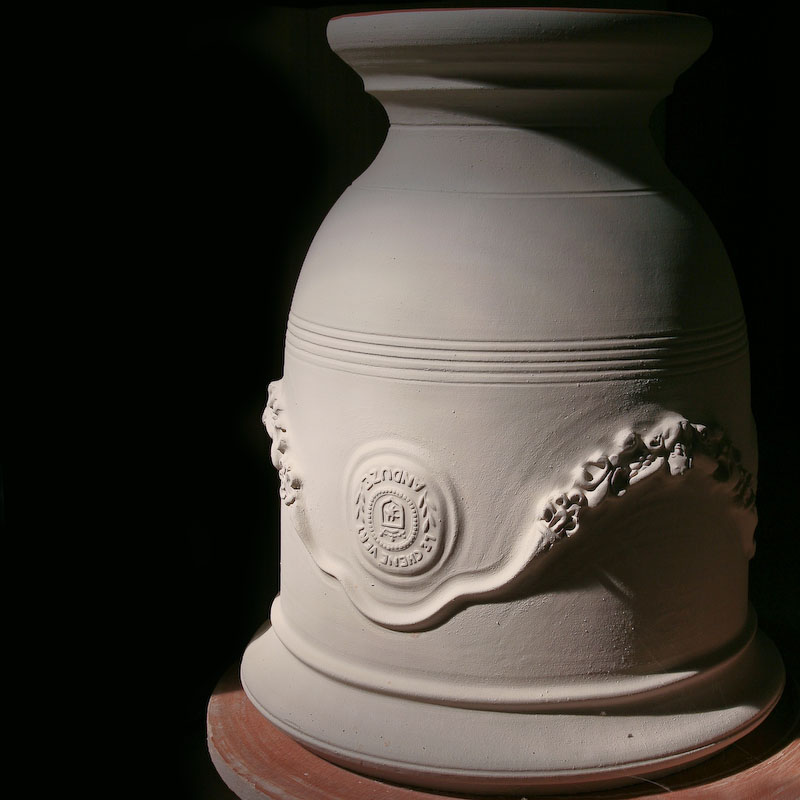
The Decoration stage consists of surfacing the planter, setting and leveling the base, hand-stamping the decors to set them on the planter’s body and personifying each dated piece.


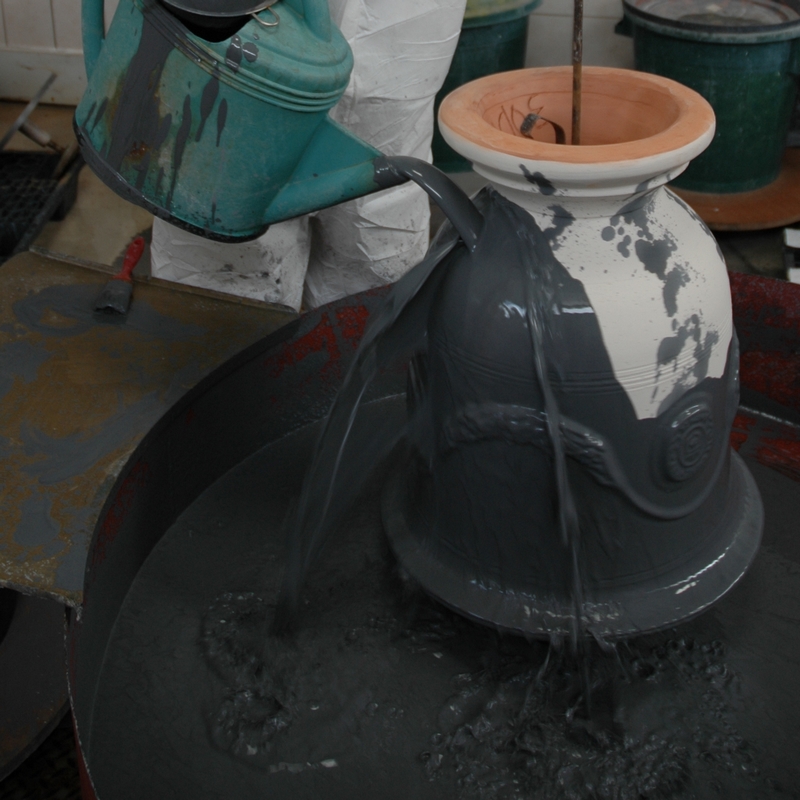
Once sufficiently dry, after several days, the clay has a “leather touch” and it is time to proceed to the very important stage of Enrobing consisting of applying a primer made out of white liquid clay which covers the main body of the planter.

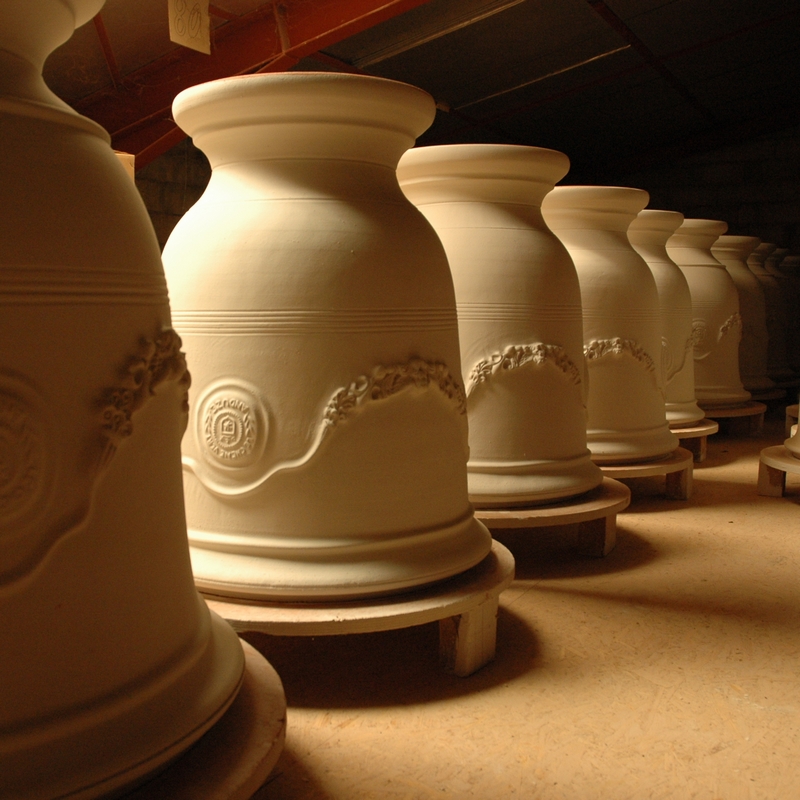
Finally, our planters will be undergoing a natural drying phase.
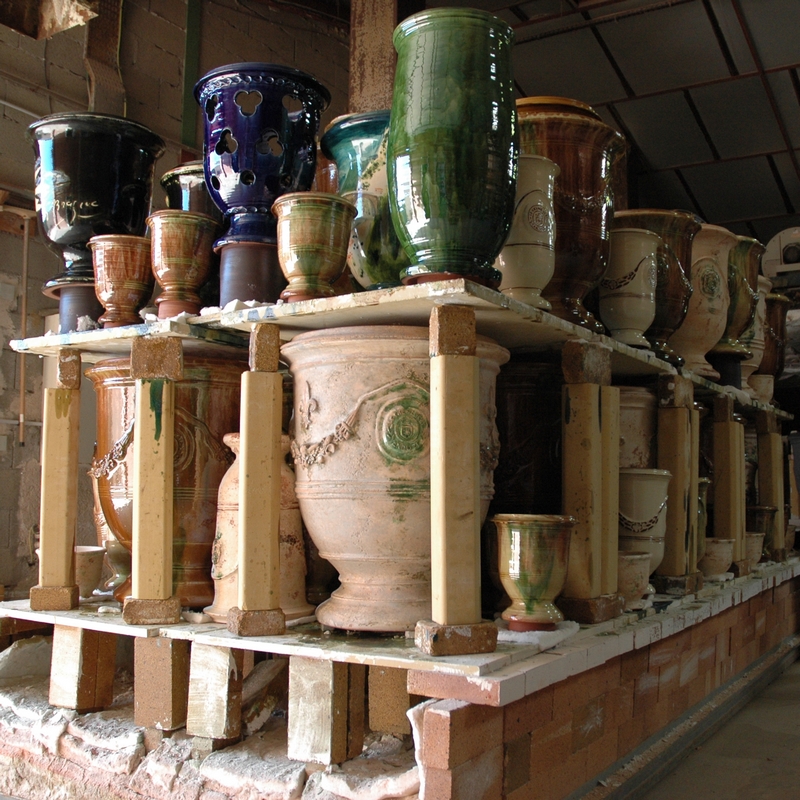
Once dried up, the planters will be glazed and placed into the kiln to be fired at temperatures over 1000 Celsius degrees for 40 hours.
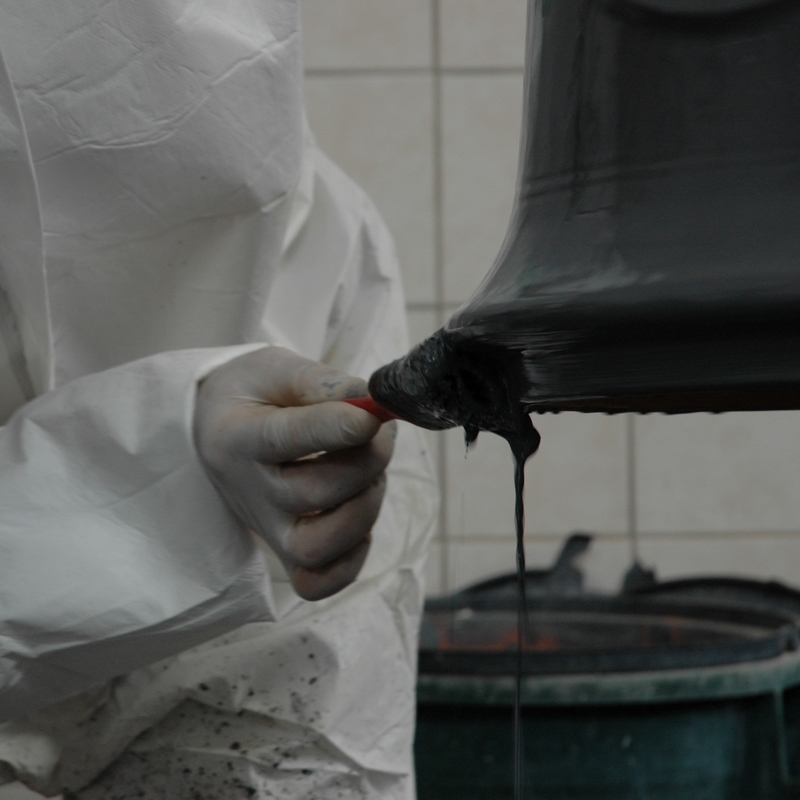
The traditional Anduze are famous for their green, brown and straw hat yellow streaks of colors. Mixing copper oxide (green) and manganese (brown) to the glaze will provide us with 2 different mixtures, spread manually across the planter, following a characteristic pattern which imitates flames. Finally, transparent glazes will cover-up the planter and reveal the straw hat yellow natural color of the enrobing primer. Do not be fooled by the grey color of a glazed planter prior to be fired as it will reveal its colors at 560 Celsius degrees.
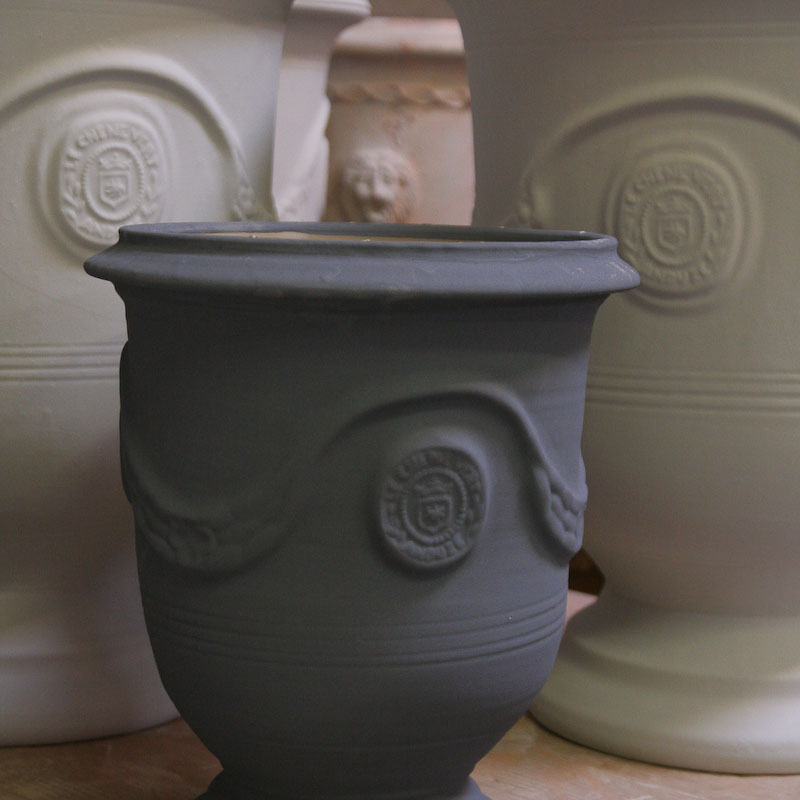
The manufacturing process being for the most part Hand made for strategic reasons, our production will show slight irregularities in shape and colors as well as dimensional variations which guarantee an authentic evidence of craftsmanship.